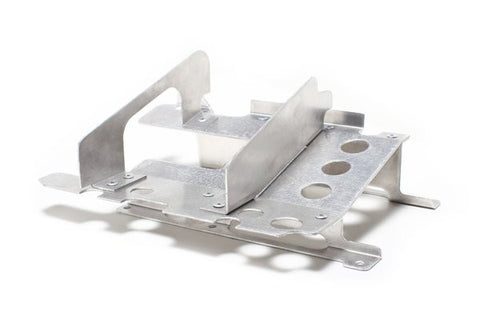
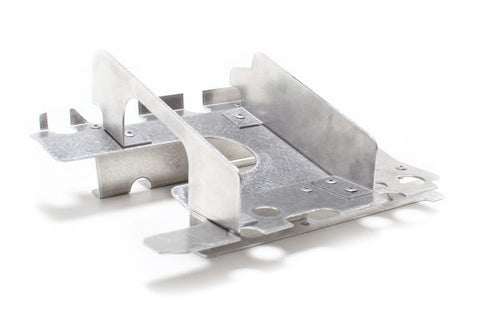
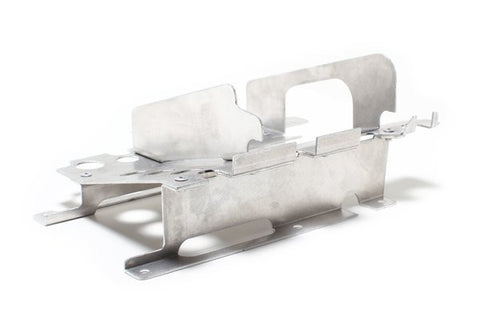
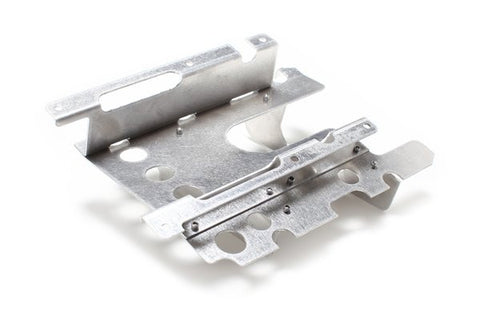
TRACTUFF BOLT-IN K SERIES OIL PAN BAFFLE
The Bolt-in K Series Oil Pan Baffle is a unique entry-level product that easily installs between the OEM Windage Tray and Oil Pan Floor. The baffle extends into the oil pan, dividing the sump into three sections, with the largest section surrounding the oil pumps pickup. The dividers section off the sump so as to keep oil from moving aggressively from one side of the pan to the other. The open top design allows for quick return of oil back to the pan. The design is simple and effective... it keeps the pickup submerged longer than a pan without!!
Features:
- Easy Bolt-in Design
- Fits all engines using K20A/A2/Z1 oil pump and PRB/ PRC/ RBB pans.
- Cost Effective Entry Level Oil Control for Light Track Duty/ Street Use.
- Manufactured in the USA
- US grade 6061-T6 aluminum
- High-Strength Blind Rivets
- Improved Mounting Hardware
Installation Procedure:
1. You’re going to start by getting the vehicle up in the air and supported by properly rated jack-stands. Drain the oil from the oil pan, removing the oil pan, and finally remove the OEM windage try.
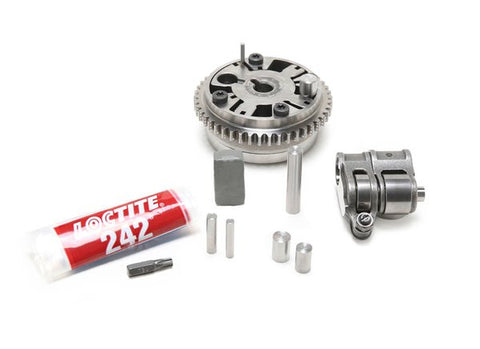
2. Grab the small bag of hardware and lay out the contents to take inventory.
3. We personally package all hardware kits and double check the bags prior to a product being shipped so you should never be missing an item but if you'd like... take inventory prior to draining your oil or removing your pan. The bag should contain 6 x M6 studs, 6 x 14mm spacers, 6 x 6mm push nut retainers, 6 x M6 serrated lock-nuts, and a .02 oz. tube of blue Loctite.
4. Shake the small tube of Loctite and twist off the cap. Apply a small amount to each of the stud’s shortest end.
5. Install the coated end of the stud into the original windage tray hardware's position. Be sure to completely thread the studs until they bottom out.
6. Install the factory windage tray (not shown), 1 x 14mm spacer, and 1 x 6mm push nut retainer (see next step).
7. Push the 6mm push nut retainer down until it makes contact with the 14mm spacer. The push-nut retainer is used to keep the windage tray and 14mm spacers from falling off while you repeat the process for the other five. If you are building the engine on a stand... you can opt not to install the push-nuts, they do present a bit of a challenge if/ when you ever decide to remove the baffle.
8. The windage tray (not pictured) and spacers should all be in place and ready for you to install the baffle. The baffle needs to be snaked through the oil pumps pickup tube and aligned with the 6 x studs. The pick-up tube suction cup does not need to be removed... we just happened to have this pump lying around and used it for the instructions.
9. The baffle should be free from any interference and lay completely flat on the 6 spacers. Any portion of the baffle that comes in contact with the pump should be adjusted.
10. Install the 6 x M6 serrated lock-nuts and tighten well. If you don’t plan on removing the baffle often... you may use the remaining Loctite to provide additional vibration resistance.
And you’re done!! This is what the finished product should look like... up-side-down obviously.